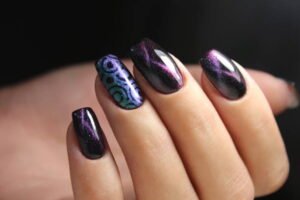
Butterfly nail art designs are a delightful way to add a touch of whimsy and elegance to your manicure. Whether you’re preparing for a special event or just want to brighten up your everyday look, butterfly designs offer a burst of color and creativity that’s hard to resist. In this article, I’ll guide you through creating stunning butterfly nail art that you can do at home. Having tried and tested various designs myself, I’ll share tips and tricks to help you achieve professional-looking results right from the comfort of your own home.
Choosing Your Butterfly Nail Art Design
Before diving into the actual painting, it’s important to decide on the butterfly design you want. Butterfly nail art can range from simple outlines to intricate designs with multiple colors. Here are a few design ideas to consider:
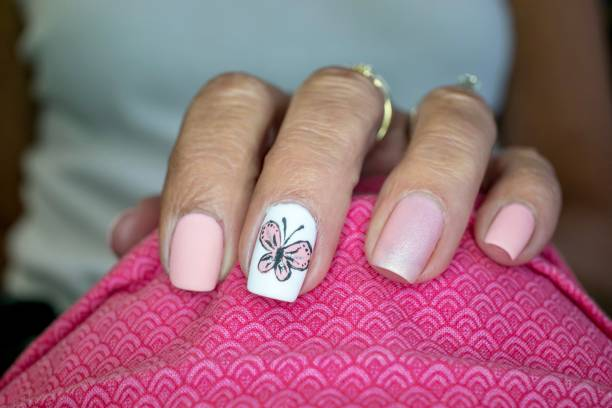
- Minimalist Butterflies: Perfect for a subtle touch, these designs involve simple, delicate butterfly silhouettes.
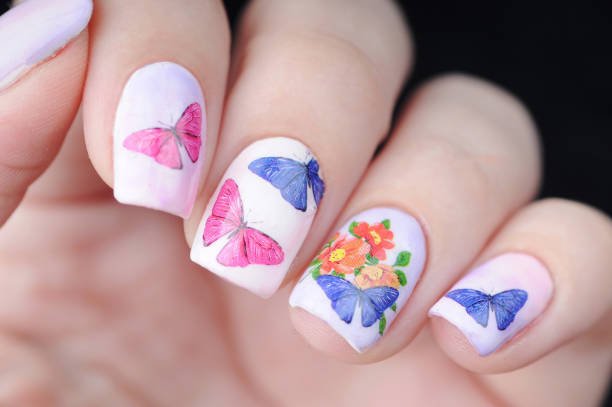
- Watercolor Butterflies: For a more artistic look, watercolor butterflies add a splash of color with a dreamy effect.
- 3D Butterflies: These designs use nail art tools to create a raised, three-dimensional butterfly effect.
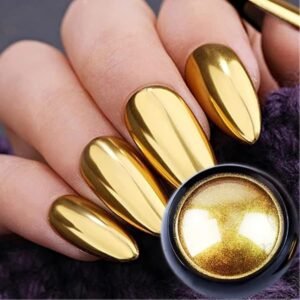
- Glitter Butterflies: Sparkling with glitter, these butterflies add a fun, glamorous touch to your nails.
What You’ll Need
To create beautiful butterfly nail art, gather the following supplies:
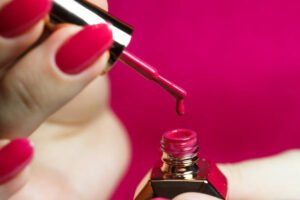
- Base Coat: To protect your nails and create a smooth surface.
- Nail Polish Colors: Choose a base color for your nails and a variety of colors for your butterfly designs.
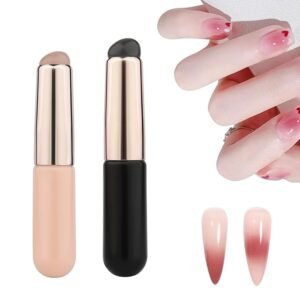
- Nail Art Brushes: Fine-tipped brushes for detailed work.
- Dotting Tools: Useful for creating patterns and adding details.
- Nail Art Tape: For clean lines and shapes.
- Top Coat: To seal and protect your design.
Step-by-Step Guide to Creating Butterfly Nail Art
1. Prepare Your Nails
Start with clean, dry nails. Remove any old polish and shape your nails to your desired length. Apply a base coat to protect your nails and help the polish adhere better. Allow it to dry completely before moving on to the next step.
2. Apply the Base Color
Choose a base color for your nails. Light shades like pastel pink, blue, or white work well as a backdrop for butterfly designs. Apply two coats of the base color for an even, opaque finish. Allow each coat to dry thoroughly before applying the next one.
3. Create the Butterfly Design
For Minimalist Butterflies:
- Use a fine-tipped nail art brush to paint a simple butterfly silhouette on your nails. Start with the wings and then add the body.
- You can use a contrasting color for the butterflies to make them stand out against your base color.
- If you make a mistake, use a small brush dipped in nail polish remover to clean up any errors.
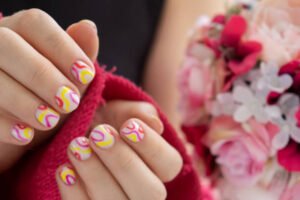
For Watercolor Butterflies:
- Apply a light wash of color to create the butterfly’s wings. Use a sponge or brush to dab different colors onto the nail for a watercolor effect.
- Once the wings are dry, use a fine brush to outline the butterfly’s shape with a darker color or black polish.
- Add small dots or details to enhance the design.
For 3D Butterflies:
- Start by creating a flat butterfly design using nail polish.
- Once the design is dry, apply a thin layer of nail glue or gel and carefully place small butterfly embellishments or stickers on top.
- You can also use a small brush and acrylic paint to create 3D effects like raised wings.
For Glitter Butterflies:
- Apply a base layer of glitter polish on your nails.
- Once dry, use a fine brush to paint butterfly shapes with a different color or apply glitter butterfly stickers.
- Seal the design with a top coat to keep the glitter in place.
4. Add Details and Accents
After your butterflies are in place, you can add extra details to make your design pop. Use a dotting tool to create tiny dots around the butterflies or add some sparkle with glitter polish. If you’re feeling adventurous, use nail art tape to create geometric patterns around your butterflies for an added touch of creativity.
5. Seal Your Design
Once you’re happy with your butterfly nail art, apply a top coat to protect the design and add shine. This step is crucial as it helps prevent chipping and extends the life of your manicure. Make sure the top coat is applied evenly and covers the entire nail.
Tips for Perfect Butterfly Nail Art
- Practice Makes Perfect: If you’re new to nail art, practice your butterfly designs on a piece of paper or a nail art wheel before applying them to your nails.
- Use Quality Products: Investing in good-quality nail polishes and tools can make a significant difference in the final result.
- Be Patient: Allow each layer of polish to dry completely before moving on to the next step. Rushing can lead to smudges and imperfections.
- Experiment with Colors: Don’t be afraid to mix and match colors to create unique butterfly designs that suit your style.
Final Thoughts
Creating butterfly nail art designs can be a fun and rewarding experience. By following these steps and tips, you can achieve beautiful results that will make your nails stand out. From minimalist butterflies to glittery accents, there’s a butterfly design for every occasion. I’ve applied these designs myself and can vouch for their beauty and versatility. So, gather your supplies, get creative, and enjoy transforming your nails into a fluttering work of art!


")