
Hello there! If you’ve ever dabbled in nail art, you probably know how essential the right tools can be. When it comes to achieving those intricate and stunning designs, a good set of brushes can make all the difference. I’ve spent countless hours experimenting with various brushes, so today, I’m excited to share my favorite nail art brushes for detailed designs. These are the ones I use personally and recommend for anyone looking to up their nail art game.
Why the Right Brush Matters
Before diving into the specifics, let’s talk about why having the right brush is so crucial. Nail art can be incredibly intricate, and precision is key. A brush that’s too thick or poorly made can turn your beautiful designs into a mess. Good brushes help in achieving fine lines, delicate details, and consistent application. Trust me, investing in quality brushes is worth every penny!
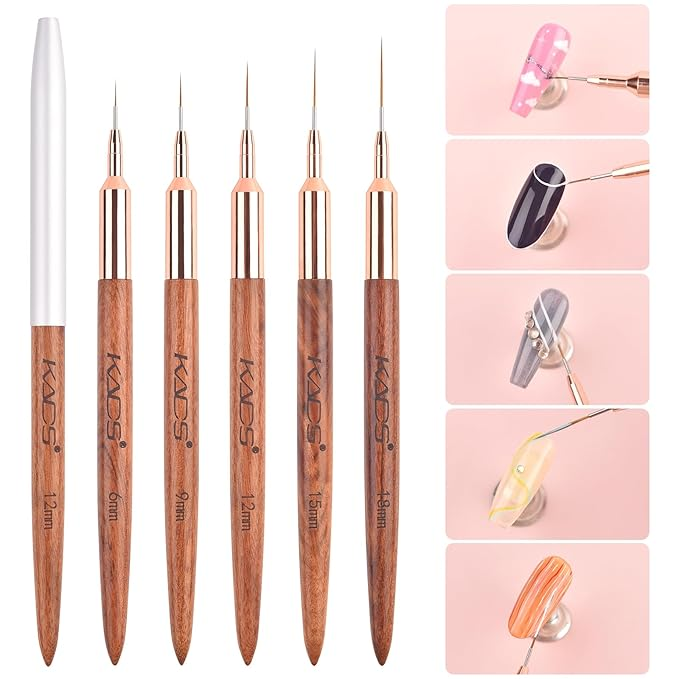
1. Detailing Brush
The Skinny on Detail Work
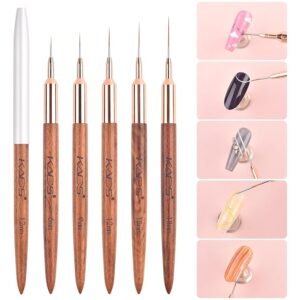
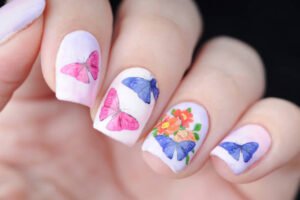
For those ultra-fine lines and tiny details, a detailing brush is your best friend. These brushes have thin, precise bristles that allow for the utmost control. I love using a detailing brush when I’m adding tiny floral patterns or delicate lines to my nails. One brush I swear by is the Beetles Gel Nail Art Brush Set. It includes a detailer that’s perfect for those micro designs.
Why I Recommend It:
- Precision: The fine bristles allow for incredibly detailed work.
- Versatility: Great for a range of designs from minimalistic to complex.
- Durability: These brushes are built to last and maintain their shape.
2. Striper Brush
Stripes and More
If you’re into stripes, checks, or any linear designs, a striper brush is a must-have. These brushes have long, thin bristles that are excellent for creating clean, straight lines. I recently used a striper brush to create a sleek, monochrome look with sharp, clean lines, and it made the process so much easier.
Top Pick: The L.A. Colors Nail Art Striper Brush is a fantastic choice. It’s easy to handle and the bristles are firm enough to create precise lines without too much effort.
Why I Recommend It:
- Control: Long bristles offer excellent control for straight lines.
- Ease of Use: Perfect for both beginners and experienced artists.
- Affordable: Great quality without breaking the bank.
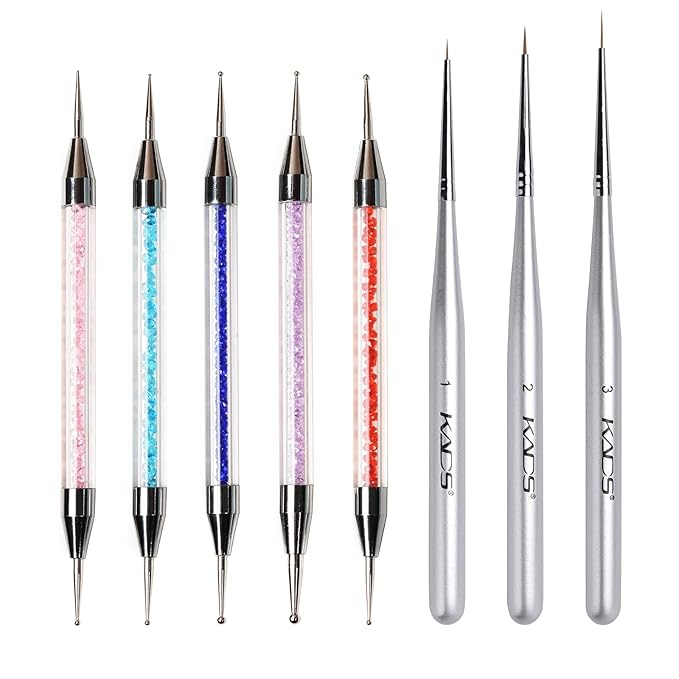
3. Dotting Tool Brush
Perfect Dots Every Time
Dotting tools are indispensable for creating dots of various sizes, from tiny speckles to larger, bolder dots. I adore using these tools when I’m doing polka dots or bubble nail designs. The Born Pretty Dotting Tools set comes in multiple sizes, which is ideal for all kinds of dotting needs.
Why I Recommend It:
- Variety: Multiple sizes for different dot sizes and designs.
- Precision: Allows for consistent and clean dot application.
- Easy to Clean: Simple to clean and maintain.
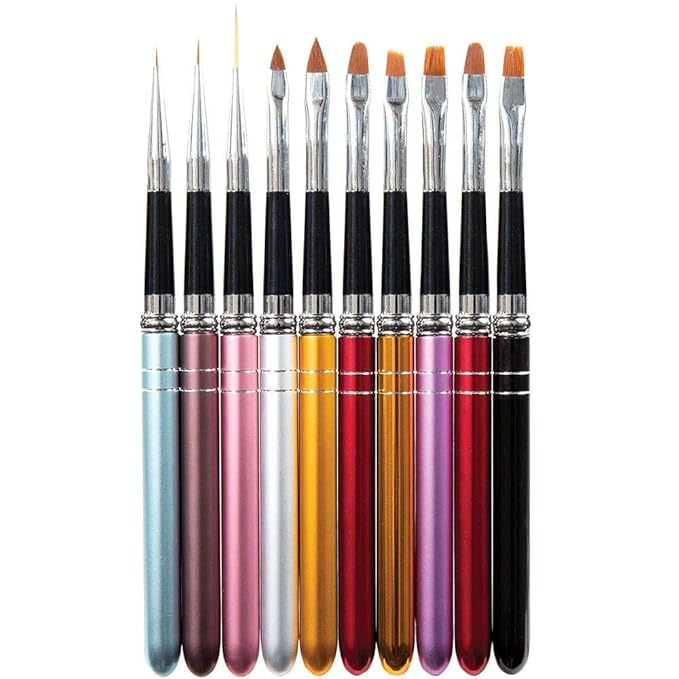
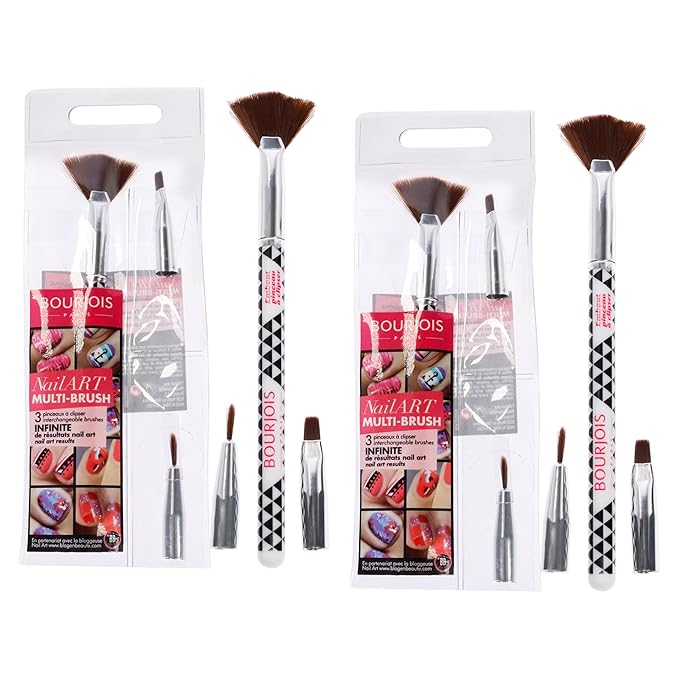
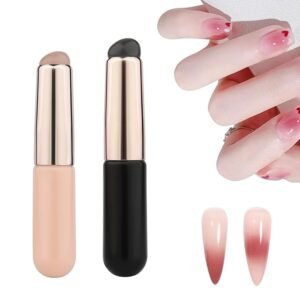
4. Fan Brush
For Textured Effects
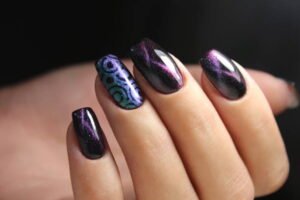
A fan brush might not be the first thing you think of for nail art, but it’s surprisingly useful for creating texture and special effects. I’ve used a fan brush to create gradient effects and even to add a bit of shimmer to my designs. The Kiss New York Professional Fan Brush is a solid choice for these effects.
Why I Recommend It:
- Textural Effects: Excellent for adding texture and gradient effects.
- Versatility: Can be used for both nail art and other cosmetic applications.
- Unique Designs: Great for experimenting with new techniques.
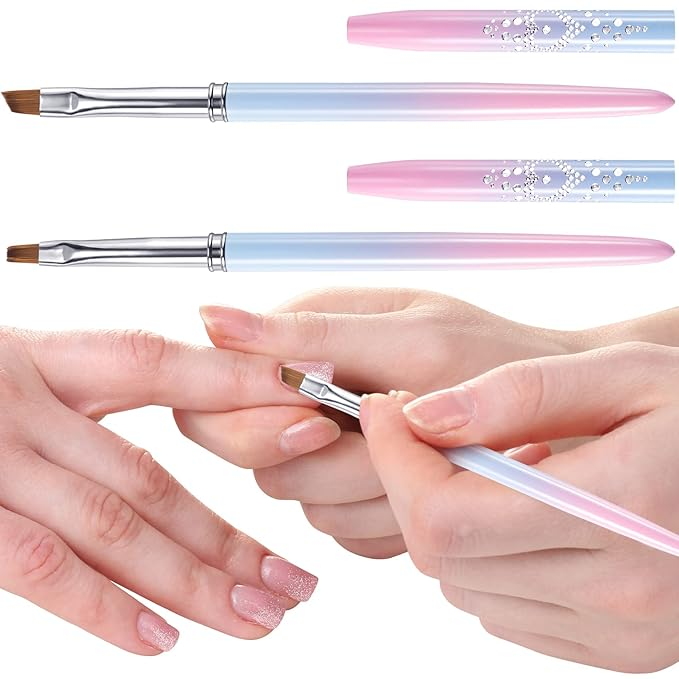
5. Angled Brush
Precision at an Angle
An angled brush is fantastic for creating precise, angled lines and shapes. It’s perfect for adding those perfect accents or detailed designs that require a bit of an angle. I use the Morphe M224 Brush for creating angled lines and designs with impeccable accuracy.
Why I Recommend It:
- Precision: Ideal for detailed work that requires an angle.
- Versatility: This can be used for both nail art and general painting.
- Quality: High-quality bristles that don’t shed easily.
Tips for Using Nail Art Brushes
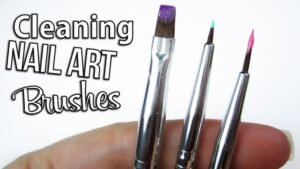
1. Keep Your Brushes Clean: Regular cleaning will ensure your brushes stay in good shape and your designs remain crisp. I usually clean mine with some brush cleaner or mild soap and water after each use.
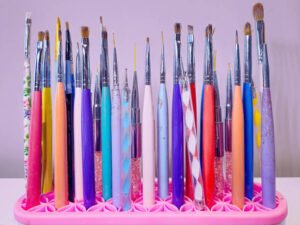
2. Proper Storage: Store your brushes in a dry place and consider using a brush holder to keep them in shape. This prevents the bristles from bending out of shape and extends the life of your brushes.
3. Practice Makes Perfect: Don’t be discouraged if your designs don’t turn out perfectly right away. Practice with your brushes, and you’ll soon find yourself creating beautiful, detailed designs with ease.
4. Invest in Quality: It’s worth investing a bit more in high-quality brushes. They last longer and provide a much better application than cheaper alternatives.
Final Thoughts
Finding the right brush can be a game-changer for your nail art. From detailing brushes to dotting tools, each brush serves a unique purpose and can help elevate your designs to the next level. These are the brushes I use in my nail art routine, and I highly recommend them to anyone looking to refine their skills and achieve professional-looking results at home.
So, grab your brushes, get creative, and let your nails become the canvas for your artistic expression! If you have any questions or need more recommendations, feel free to ask. Happy painting!

")