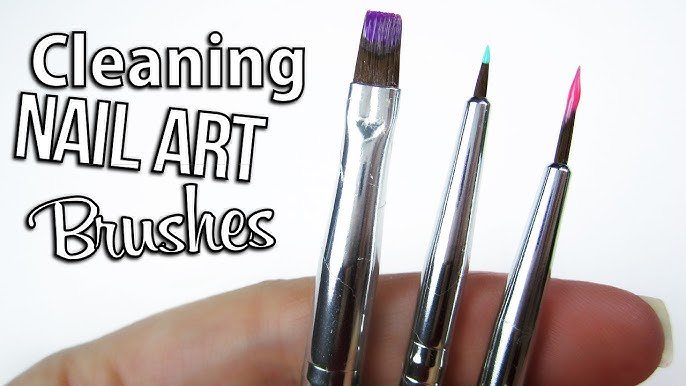
When it comes to nail art, your brushes are like your paintbrushes to a painter—essential tools that help you create stunning designs. Keeping them in tip-top shape is crucial for achieving precise, professional results every time. I’ve had my share of experience with nail art brushes, and I’ve learned that proper cleaning and maintenance can make a world of difference. In this guide, I’ll walk you through the best practices for keeping your brushes clean and in excellent condition. Whether you’re a seasoned nail artist or just starting out, these tips will help you make the most of your tools.
Why Cleaning Your Nail Art Brushes Matters
Before diving into the how-tos, let’s talk about why it’s important to keep your nail art brushes clean. Over time, nail polishes, gels, and acrylics can build up on your brushes, affecting their performance. Dirty brushes can lead to uneven application, streaks, or even ruined designs. Plus, bacteria and other harmful elements can accumulate on unclean brushes, posing potential health risks. Trust me, I’ve seen the difference a clean brush makes in my nail art projects, and it’s worth the effort.
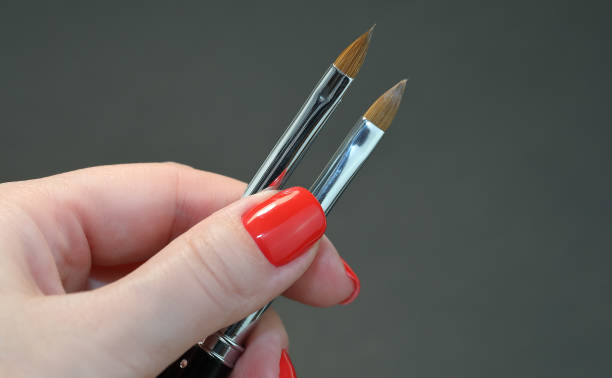
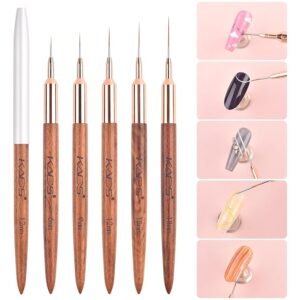
Materials You’ll Need
To get started, you’ll need a few basic supplies:
- Brush Cleaner: You can use a specialized brush cleaner or nail polish remover. For gel brushes, a gel cleanser works best.
- Mild Soap: A gentle soap, like baby soap or dish soap, can help break down stubborn residues.
- Warm Water: Helps to soften and loosen any build-up on the brushes.
- Lint-Free Cloth: To dry the brushes without leaving fibers behind.
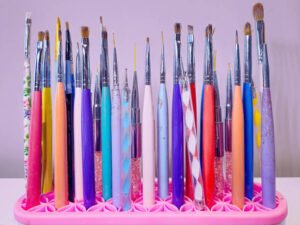
- Brush Stand or Holder: Keeps your brushes in shape while drying.
Step-by-Step Guide to Cleaning Your Nail Art Brushes
1. Remove Excess Product
First things first, gently wipe off any excess product from your brush. You can use a lint-free cloth or a paper towel for this. I usually swipe the brush back and forth on the towel to remove as much as possible before I start washing it. This step helps prevent the cleaner from getting too dirty too quickly.
2. Rinse with Warm Water
Hold your brush under warm running water. This helps to loosen up any remaining product on the bristles. Be careful not to use water that’s too hot, as it can damage the brush fibers. I typically rinse until the water runs clear, which usually means most of the product has been washed away.
3. Apply Brush Cleaner or Soap
Apply a small amount of brush cleaner or mild soap to the brush. If you’re using a brush cleaner, make sure it’s suitable for the type of product you’ve been using. For acrylics or gels, a gel cleanser is ideal. Gently work the cleaner into the bristles using your fingers or a brush-cleaning pad if you have one. I find that massaging the cleaner into the bristles helps to break down any stubborn residues.
4. Clean the Brush
Swirl the brush in the palm of your hand or on a brush cleaning pad, making sure to get into all the nooks and crannies. For intricate brushes, you might need to gently use your fingers to ensure all the product is removed. Rinse the brush under warm water again to remove all traces of cleaner or soap. You might need to repeat the process a couple of times, especially if you’ve been using thick or glittery polishes.
5. Shape the Bristles
After rinsing, gently squeeze the excess water from the brush using your fingers or a lint-free cloth. It’s important to reshape the bristles while they’re still damp. I usually use my fingers to carefully guide the bristles back into their original shape. This helps maintain the brush’s functionality and prevents it from becoming frayed or misshapen.
6. Dry the Brush
Place your brush on a lint-free cloth or a brush stand to dry. Let it air dry completely before using it again. Avoid placing your brush on a flat surface to dry, as this can cause the bristles to become misshapen. I always hang mine or place them upright in a brush holder to ensure they dry in the correct shape.
Maintaining Your Brushes Between Uses
Keeping your brushes clean doesn’t end with a good wash. Here are some tips for maintaining them between uses:
- Wipe Off Excess Product: After each use, gently wipe off excess product with a lint-free cloth or a brush cleaner. This helps prevent build-up and keeps your brushes ready for the next use.
- Store Properly: Store your brushes in a dry, clean place. Avoid leaving them in damp environments or in direct sunlight, which can damage the bristles.
- Regular Deep Cleaning: Aim to deep clean your brushes at least once a week, depending on how frequently you use them. For more intense applications, such as using gels or glitters, you might need to clean them more often.
Common Mistakes to Avoid
Even with the best intentions, it’s easy to make mistakes. Here are a few to watch out for:
- Using Harsh Chemicals: Avoid using acetone or other harsh chemicals that can damage the bristles. Stick to gentle cleansers specifically designed for nail art brushes.
- Submerging the Brush Handle: Be careful not to submerge the handle of the brush in water. This can weaken the adhesive and lead to bristle loss. Always focus on cleaning the bristles only.
- Forgetting to Reshape: If you don’t reshape the bristles after washing, they can dry in a misshapen form, which affects their performance. Always reshape them while they’re still damp.
When to Replace Your Brushes
Despite your best efforts, brushes don’t last forever. Here are signs it might be time to replace your brush:
- Frayed Bristles: If the bristles start to split or fray, it’s a sign the brush may be past its prime.
- Persistent Residue: If you notice that even after thorough cleaning, the brush still has product residue, it may be time for a new one.
- Handle Issues: If the handle is loose or the bristles are falling out, replacement is necessary.
Final Words
Keeping your nail art brushes clean and well-maintained is essential for creating beautiful, precise designs. I’ve learned through personal experience that investing time in cleaning and maintaining your brushes pays off in the quality of your nail art. Regular cleaning, proper storage, and avoiding common mistakes can extend the life of your brushes and ensure your designs always turn out as planned.
So, the next time you finish a nail art session, remember to give your brushes the care they deserve. Your future self—and your nails—will thank you for it!


")