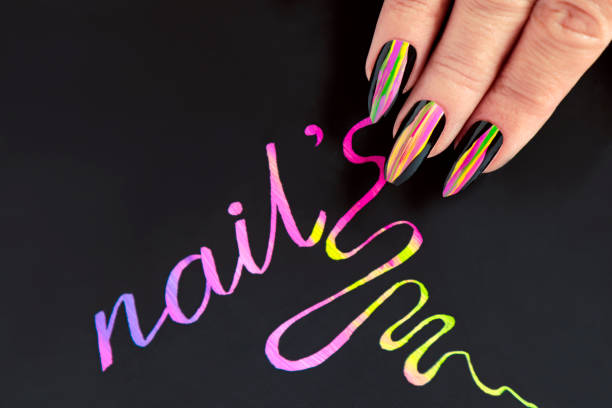
Nail art has always been a fun way to express yourself, but neon nail art? That’s a whole new level of fabulous! If you’re like me and love vibrant colors that pop, then neon nails are a must-try. The best part? You don’t need to visit a salon to get that stunning glow-in-the-dark look. You can achieve it right at home, with a few tools and a little creativity. Trust me, once you get the hang of it, you’ll be showing off your nails every chance you get!
Why Neon Nail Art?
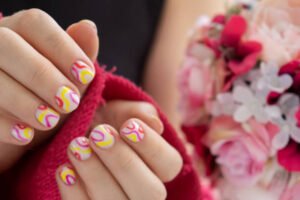
Before we dive into the process, let me tell you why I’m obsessed with neon nail art. First of all, the colors are just so lively and fun. They scream summer, fun, and parties. Whether you’re heading to a music festival or just hanging out with friends, neon nails will make you stand out. Plus, they look fantastic under UV light, making them perfect for nights out. I applied this design on my nails last summer, and let me tell you, the compliments didn’t stop!
What You’ll Need
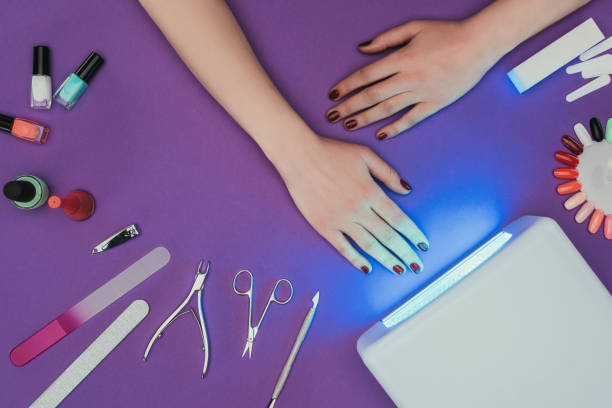
To create neon nail art at home, you’ll need a few basic supplies. Don’t worry, most of these items are probably already in your nail kit, and if not, they’re easy to find at your local beauty store or online.
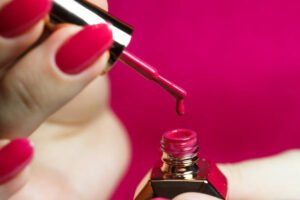
- Neon Nail Polish: Obviously, the star of the show! Pick out a few neon shades that you love. I recommend neon pink, green, and orange – they’re my go-to.
- Base Coat: A good base coat is essential to protect your natural nails and make the neon colors pop even more.
- Top Coat: This will seal in your design and add that glossy finish that we all love.
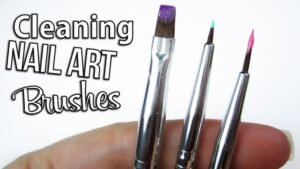
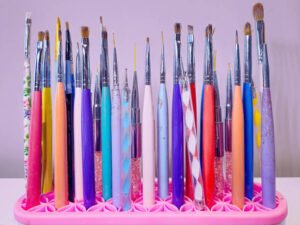
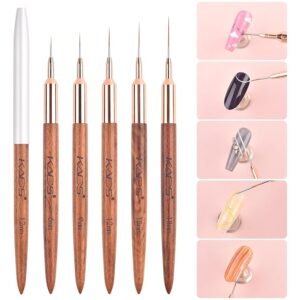
- Nail Art Brushes: Thin brushes are perfect for creating detailed designs. You can also use toothpicks or bobby pins if you’re in a pinch.
- Nail Tape or Stencils: These are optional but super helpful if you’re not confident in your freehand skills.
- Cotton Swabs and Nail Polish Remover: For cleaning up any mistakes.
- UV Lamp (Optional): If you want your neon nails to glow, a UV lamp is a great addition. It’s not necessary, but it does add that extra oomph.
Step-by-Step Guide to Creating Neon Nail Art
Now that you’ve gathered your supplies, let’s get started on creating your neon masterpiece. I’m going to walk you through the steps I use to create my personal favorite neon nail designs.
Step 1: Prep Your Nails
Start with clean, dry nails. Remove any old polish with nail polish remover, and give your nails a good wash. I like to soak my hands in warm soapy water for a few minutes to soften the cuticles. Then, gently push back the cuticles with an orange stick. Trim and file your nails to your desired shape. I love a good square shape for neon nails – it gives a nice modern edge.
Step 2: Apply a Base Coat
Applying a base coat is crucial, especially when working with neon colors. The base coat not only protects your nails from staining but also helps the neon polish adhere better. Let the base coat dry completely before moving on to the next step.
Step 3: Apply Your Neon Base Color
Now comes the fun part! Choose your neon color and apply it to your nails. For a vibrant look, I recommend applying a white polish first as a base, then layering the neon color on top. This makes the color pop! I did this with a neon green polish, and it looked electric. Apply 2-3 coats of the neon polish, allowing each coat to dry fully before applying the next.
Step 4: Create Your Design
Here’s where you can get creative. There are so many neon nail art designs to choose from, so I’ll share a few of my favorites.
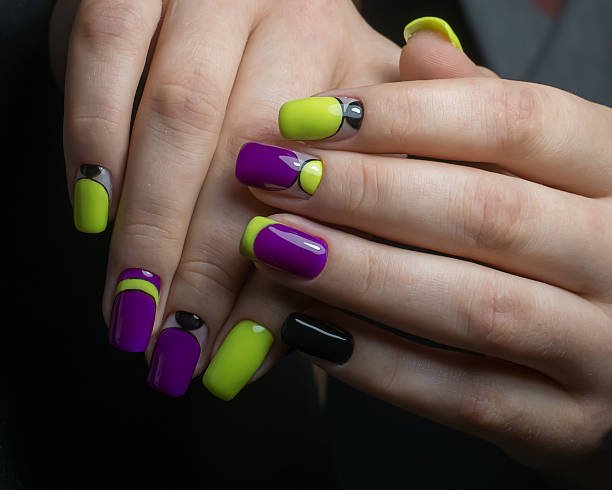
1. Neon French Tips: This is a modern twist on the classic French manicure. After your base color is dry, use a nail art brush or tape to create a thin line of neon color on the tips of your nails. I’ve done this with neon pink, and it’s such a chic, understated look.
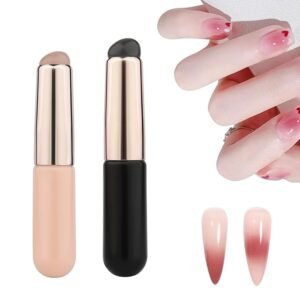
2. Neon Gradient: For a more dramatic look, try a gradient effect. Start with one neon color at the base of your nail and another at the tip, then blend them in the middle. I recommend using a makeup sponge to dab the colors together for a seamless transition.
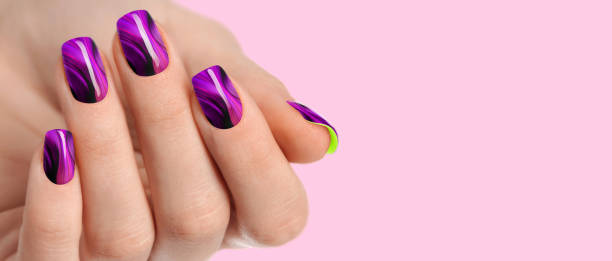
3. Geometric Patterns: Neon colors are perfect for bold geometric designs. Use nail tape or stencils to create triangles, squares, or even zigzags on your nails. I once did a mix of neon orange and pink triangles on a white base, and it was a total hit!
4. Neon Polka Dots: Polka dots are always fun and easy to do. Use a dotting tool or a toothpick to create dots in different neon colors all over your nails. This design is playful and perfect for a summer day out.
Step 5: Clean Up the Edges
Even the steadiest hand can have a slip-up. Don’t worry – that’s what the cotton swabs and nail polish remover are for. Dip a swab in remover and carefully clean up any polish that ends up on your skin or cuticles. I’ve found that doing this step slowly and patiently makes all the difference in getting that salon-perfect look.
Step 6: Apply a Top Coat
Once you’re happy with your design, it’s time to seal it in with a top coat. This step is crucial for making your neon nail art last and giving it that shiny, professional finish. Make sure the top coat is completely dry before you go about your day – trust me, smudging your freshly painted nails is the worst!
Step 7: Optional UV Glow
If you have a UV lamp and want to add some extra glow, now’s the time! After your top coat is dry, place your nails under the UV lamp for a minute or two. The result is mesmerizing – your nails will glow in the dark, perfect for a night out or a rave party. I’ve done this a few times, and it always gets people talking!
Tips for Long-Lasting Neon Nail Art
Now that you’ve got your neon nails looking fabulous, you’ll want them to last as long as possible. Here are a few tips I’ve learned from my nail art adventures:
- Avoid Hot Water: Prolonged exposure to hot water can cause your polish to chip faster. I recommend wearing gloves when doing dishes or cleaning.
- Reapply Top Coat: Every few days, apply another layer of top coat to keep your nails looking fresh and prevent chipping.
- Moisturize: Keep your hands and cuticles moisturized. This not only keeps your hands looking great but also helps prevent the polish from lifting at the edges.
- Be Gentle: Try to avoid using your nails as tools. I know it’s tempting to open that can with your nails, but it’s a surefire way to ruin your manicure.
Final Thoughts
Creating neon nail art at home is not only fun but also incredibly satisfying. With a little practice, you’ll be able to achieve salon-worthy results right in your own home. The designs are endless, and the colors are so vibrant that you’ll never get bored. Plus, it’s a great way to express your style.
I hope this guide has inspired you to give neon nail art a try. Whether you’re new to nail art or a seasoned pro, there’s something here for everyone. So grab your favorite neon polishes and start creating – your nails are your canvas!
Remember, the key to great nail art is to have fun with it. Don’t stress about making it perfect; it’s all about expressing yourself and enjoying the process. And who knows? You might just discover a new favorite design. Happy painting!

")