When it comes to nail art, every detail counts and the tools you use can make a world of difference. One such tool that has been gaining popularity in recent years is the silicone brush. If you’re new to silicone brushes or just curious about how to incorporate them into your nail art routine, you’ve come to the right place. I’ll walk you through everything you need to know about using silicone brushes for nail art, including my personal experiences, recommendations, and tips for achieving stunning designs.
Why Choose a Silicone Brush?
1. Precision and Control
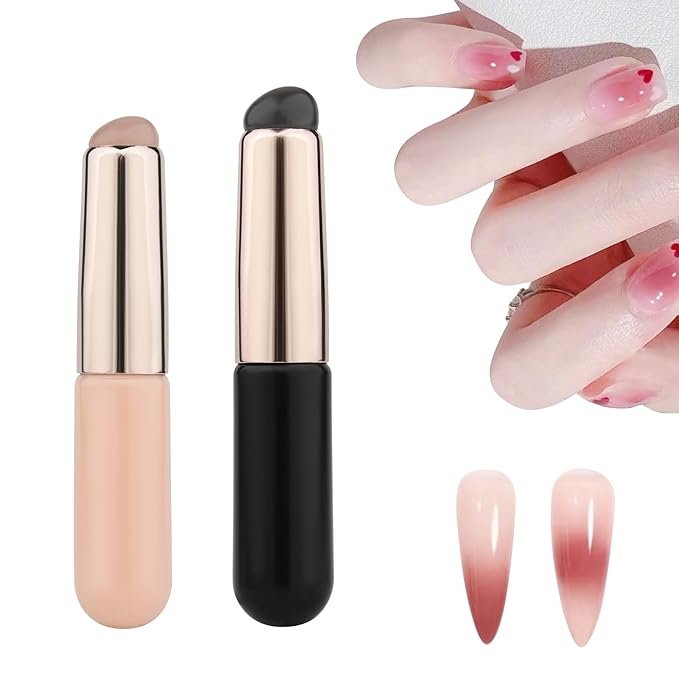
One of the standout features of silicone brushes is their precision. Unlike traditional brushes, silicone bristles are firm and smooth, which allows for greater control over fine details. Whether you’re crafting intricate patterns or applying gel polish, a silicone brush can help you achieve cleaner lines and more defined shapes.
2. Easy to Clean
Cleaning traditional brushes can be a hassle, especially if you’re working with gels or glitters. Silicone brushes, on the other hand, are much easier to clean. The non-porous surface of silicone doesn’t trap pigments or products, making it a breeze to wipe away residue. I find that a quick swipe with some acetone or nail polish remover does the trick.
3. Versatility
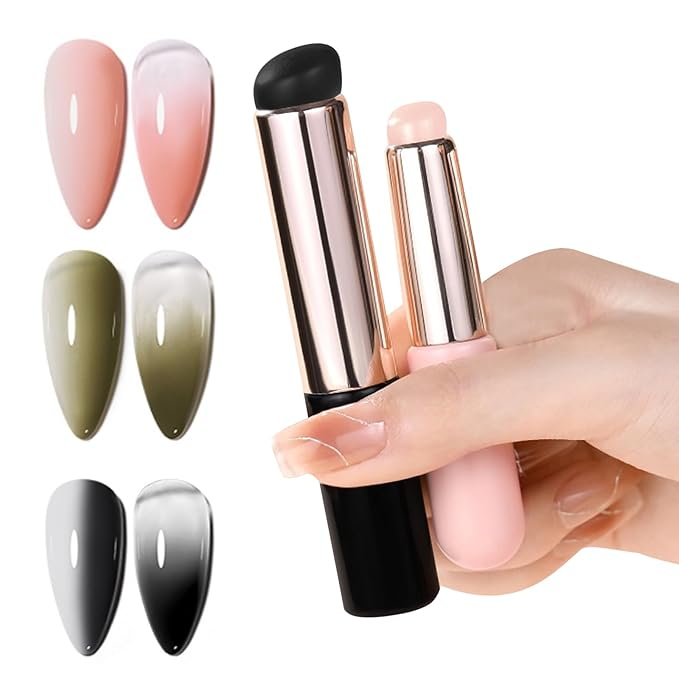
Silicone brushes are incredibly versatile. You can use them for a variety of nail art techniques, including stamping, blending, and even creating textured effects. Whether you’re a beginner or a seasoned nail artist, a silicone brush can add a new dimension to your nail art toolkit.
Choosing the Right Silicone Brush
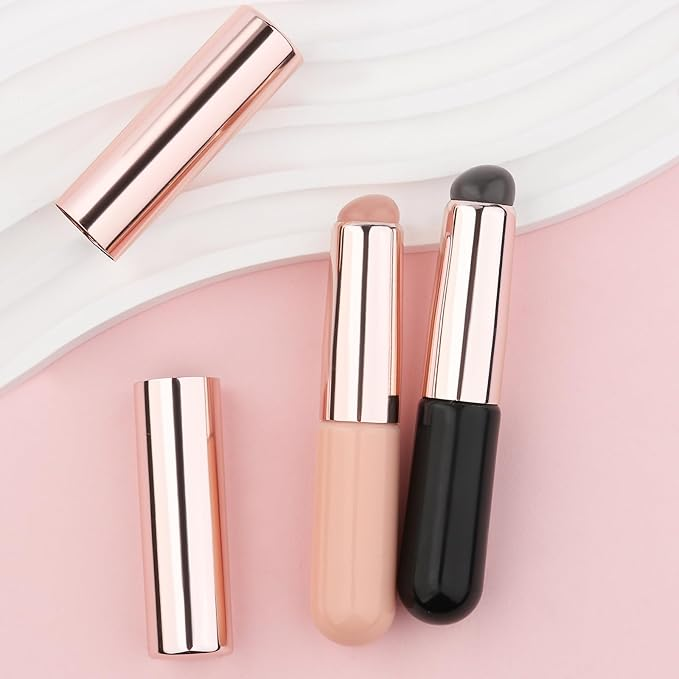
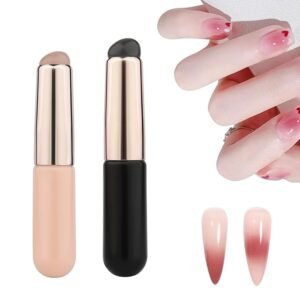
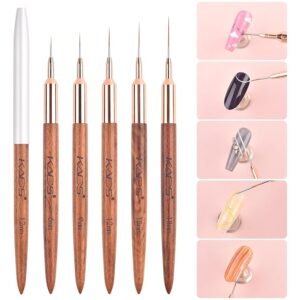
1. Brush Size and Shape
Silicone brushes come in various sizes and shapes, each suited for different applications. For example:
- Detail Brushes: Small, fine-tipped brushes are great for intricate designs and precision work.
- Flat Brushes: These are ideal for applying gels or creating bold, sweeping strokes.
- Fan Brushes: Perfect for blending and creating gradient effects.
I use a small detail brush for my nail art designs. It allows me to work with precision and achieve those tiny, delicate details that make a design pop.
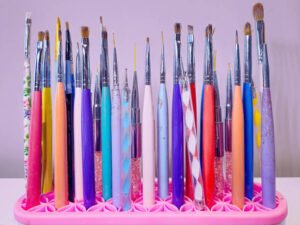
2. Quality Matters
Not all silicone brushes are created equal. Look for brushes with high-quality silicone bristles that are durable and won’t lose their shape over time. A well-made silicone brush can make a big difference in the outcome of your nail art.
How to Use a Silicone Brush for Nail Art Designs
1. Preparing Your Nails
Before diving into your nail art, make sure your nails are clean and prepped. Apply a base coat to protect your natural nails and ensure better adhesion of your nail polish or gel. If you’re working with a gel base, cure it under a UV or LED lamp as per the product instructions.
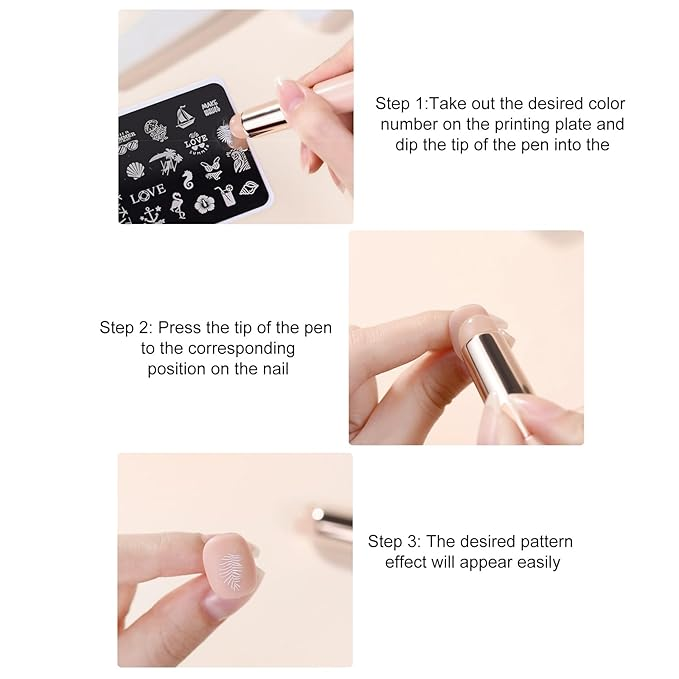
2. Choosing Your Design
Decide on the design you want to create. Silicone brushes are great for a variety of techniques, from simple dotting to complex 3D effects. If you’re new to using silicone brushes, start with a simple design to get a feel for how the brush works.
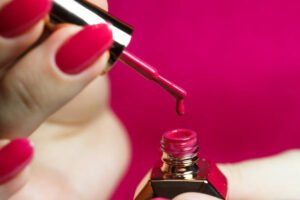
3. Applying Nail Polish or Gel
For gel applications, use a silicone brush to apply the gel polish. The firm bristles help spread the gel evenly without creating bubbles or streaks. If you’re using regular nail polish, you can also use a silicone brush to create intricate designs or patterns.
4. Creating Your Design
Here’s where the magic happens! Use your silicone brush to carefully craft your design. For example, if you’re creating a marble effect, apply different colors of gel polish to your nails and use a silicone brush to blend them. For a more textured look, use the brush to create patterns or textures by gently tapping or dragging it across the nail.
5. Finishing Touches
Once you’re happy with your design, cure the gel polish under a UV or LED lamp if necessary. Apply a top coat to seal in your design and add a glossy finish. The top coat also helps protect your artwork and ensures it lasts longer.
Tips and Tricks
1. Practice Makes Perfect
Using a silicone brush can take some practice, especially if you’re transitioning from traditional brushes. Spend some time experimenting with different techniques and designs to get comfortable with the brush.
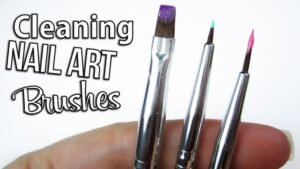
2. Clean Your Brush Regularly
To keep your silicone brush in top condition, clean it regularly. Wipe away any product residue after each use, and make sure to store it properly to prevent damage.
3. Experiment with Different Products
Don’t be afraid to experiment with different nail art products, such as gel polishes, acrylics, and nail foils. Silicone brushes work well with a variety of mediums, so try out different combinations to see what works best for you.
My Personal Experience with Silicone Brushes
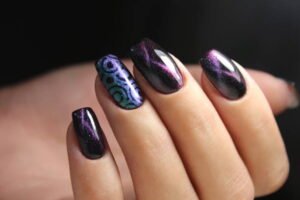
I’ve been using silicone brushes for a while now, and I’ve found them to be incredibly versatile and user-friendly. One of my favorite techniques is using a silicone brush to create gradient effects. I start with a base color and then use the brush to blend in a secondary color, creating a smooth transition that looks both elegant and unique.
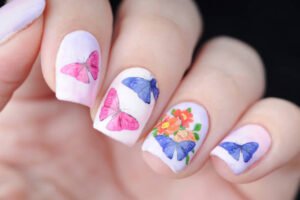
Another technique I love is using silicone brushes for intricate nail art designs. For instance, I recently used a fine-tipped silicone brush to create a detailed floral pattern on my nails. The precision of the brush allowed me to achieve clean, sharp lines, and the result was a design that looked both professional and polished.
Final Words
Silicone brushes are a fantastic tool for anyone interested in nail art, whether you’re a beginner or a seasoned pro. Their precision, ease of cleaning, and versatility make them a valuable addition to any nail art kit. By choosing the right brush, experimenting with different techniques, and practicing regularly, you can elevate your nail art to new heights.
If you haven’t tried using a silicone brush yet, I highly recommend giving it a go. With a little practice and creativity, you’ll be amazed at what you can create. Happy painting!
Feel free to share your silicone brush experiences and favorite techniques in the comments. I’d love to hear about your personal nail art adventures!


")